This can be done with 4 steps as illustrated below;

1. Retrieve Lead Id from Power App (In my case we trigger this from a Canvas App – you can trigger from many other forms)
2. Obtain the Access Token. (Application needs to have registered in Azure, where you get Application Id and Secrets required for this step)
3. Initialize a Variable with Access Token retrieved in previous step
4. Execute the Qualify Lead through API.
Let’s see details of each step;
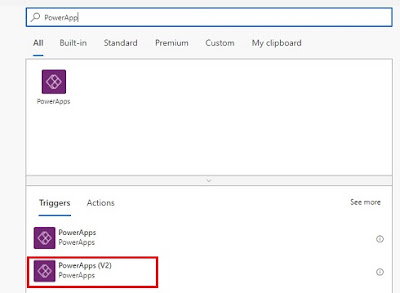
1. Select Power Apps (V2) as the trigger. When opening the new Power Automate, I would skip the wizard so I get much flexibility in selecting my trigger through below window. Then I can add my only Parameter, which is Lead Id.

2. Below is the configuration details pass into Http Request in this step. Please notice some details are from App registration.

3. If you pass the correct details in previous step, it will produce the Access Token, which we read into a variable in this step.

4. Now it’s a matter of executing the Lead Qualify message through API. For this also, we use Http Request. Please notice how we pass the Token and Lead Id. I am only change the state as Lead Qualification, but configuration can be changed to create Contact/Account easily (Check Body).

Now it’s a matter of calling the Power Automate/ Flow from Power App.
Reference;